How to choose and install the best tile floor underlayment
Unlock the secrets of tile floor underlayment materials and installation for a smooth and stable surface.

Transforming a space, tile floors offer both beauty and durability. However, to ensure lasting results, one should focus on the underlayment—the foundation beneath the tiles. Without proper underlayment, even carefully laid tiles can crack, spoiling your efforts.
To protect your investment, discover how to choose the right underlayment.
What is tile floor underlayment?
The layer between the subfloor and the surface tile is referred to as tile underlayment. Its primary role is to provide stability, level irregularities, and offer protection against moisture.
Types of tile floor underlayment: ranking from least to most preferred
Various types of underlayment exist, including pouring, board, and membrane types, each serving specific functions in ensuring a successful tile installation.
3. Pouring type underlayment:
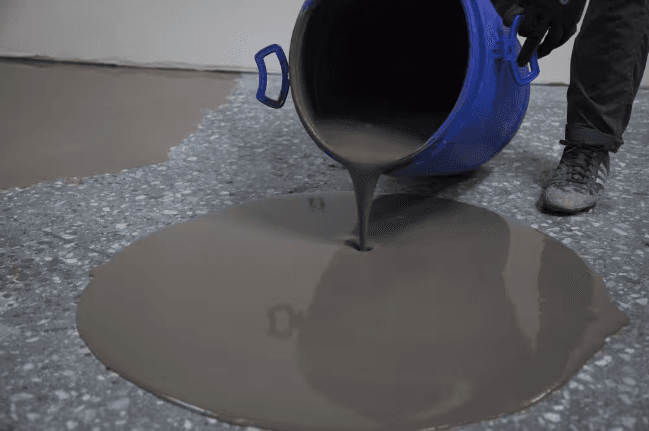
The pouring type is the least favored due to its labor-intensive installation process and the potential for uneven application, requiring careful monitoring to ensure a smooth surface.
Applied with a trowel or roller, liquid or semi-liquid products, such as self-leveling underlayment, offer flexibility and are ideal for leveling uneven subfloors. They ensure a smooth surface for tile installation, making them perfect for intricate designs or irregular subfloors.
Pouring self-leveling underlayment
Installing pouring type underlayment: step-by-step guide
- Prepare the subfloor by thoroughly cleaning it, ensuring it’s free from dust, debris, and irregularities.
- Prime the subfloor to enhance adhesion and prevent air bubbles from forming in the underlayment.
- Mix the underlayment according to the manufacturer’s instructions. Use a drill with a mixing attachment for thorough blending.
- Pour the underlayment, starting from the furthest corner of the room and working towards the exit. Use a trowel or gauge rake to spread it evenly.
- Level the underlayment using a straightedge or level to ensure even distribution and the desired thickness.
- Allow the underlayment to dry following the manufacturer’s instructions, avoiding any disturbances to prevent unevenness.
- Sand any rough spots or imperfections in the dried underlayment to create a seamless surface for tile installation.
2. Board type underlayment:
Next, board type underlayment provides a sturdy foundation but may require more effort during installation compared to membrane type underlayment.
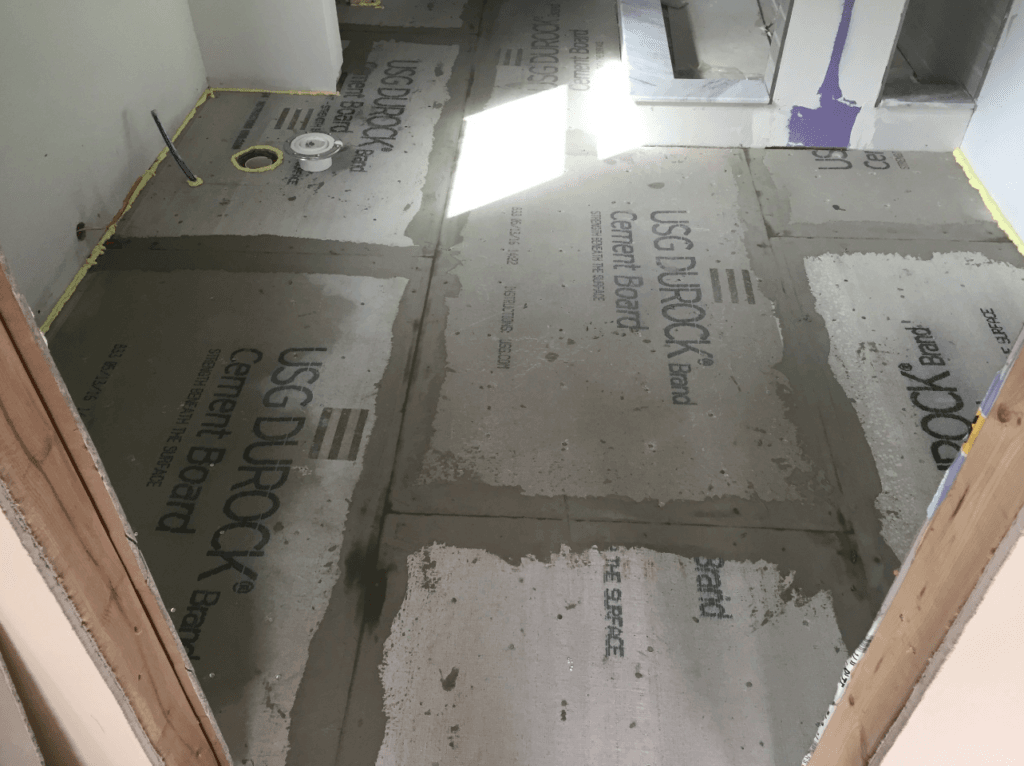
This board type underlayment comprises backer board or cement board, which are sheet-like materials. Offering a sturdy and rigid surface, board type underlayment is ideal for supporting heavy tiles and preventing flexing. It is commonly used for high-traffic areas or areas prone to moisture exposure.
Backer board typically comes in three-foot-by-five-foot rigid panels containing a combination of cement, fiberglass, and sometimes crushed glass particles.
HardieBacker Cement Board
USG Durock Cement Board
Installing board type underlayment: step-by-step guide
- Prepare the subfloor by ensuring it is clean, dry, and free from any debris or protrusions.
- Cut the backer board by measuring and marking the panels to fit the installation area. Use a circular saw with a concrete blade for precise cuts.
- Apply thinset adhesive by spreading a layer over the subfloor using a notched trowel, ensuring even coverage.
- Lay the backer board by carefully placing the cut panels over the thinset adhesive. Leave a small gap between panels for expansion joints and maintain a consistent layout pattern.
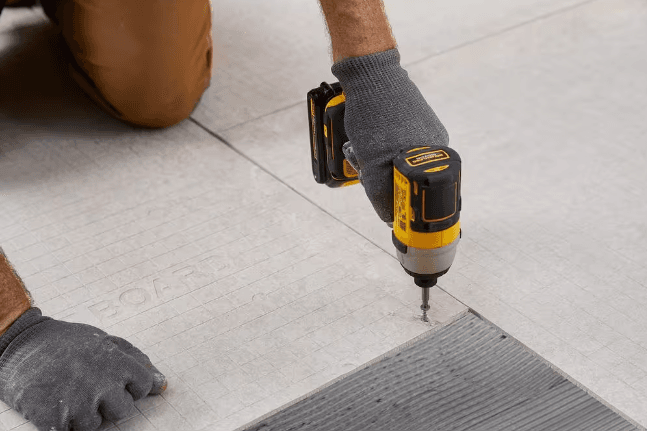
- Secure the backer board to the subfloor by using corrosion-resistant screws. Place screws approximately every 6 inches along the edges and every 8 inches in the field.
- Tape joints by applying fiberglass mesh tape to cover the seams between backer board panels, preventing cracks and reinforcing the installation.
- Apply thinset overlaps by spreading another layer of adhesive over the seams and screw heads using a flat trowel. Smooth out any excess thinset.
- Let it cure fully before proceeding with tile installation, allowing the thinset to dry according to manufacturer recommendations.
1. Membrane type underlayment:
At the top of the list is membrane type underlayment, prized for its ease of installation, superior waterproofing properties, and flexibility, making it the preferred choice for many tiling projects.
Schluter, a leading manufacturer in the tile industry, offers a comprehensive range of membrane underlayment options for floor installations, providing solutions for waterproofing, crack prevention, and floor heating.
The Schluter-KERDI waterproofing membrane serves primarily as a waterproofing membrane, offering reliable protection against water infiltration in tiled floor installations. Particularly well-suited for wet areas such as showers, bathrooms, and kitchen floors, it provides dependable waterproofing.

The Schluter-DITRA uncoupling membrane serves as an uncoupling membrane to prevent cracks in tiles caused by movement in the subfloor. While it also offers waterproofing properties, its primary function is to separate the tile assembly from the substrate, thereby reducing the risk of cracked tiles. Commonly used in floor tile installations over various substrates, Schluter-DITRA ensures long-term durability.

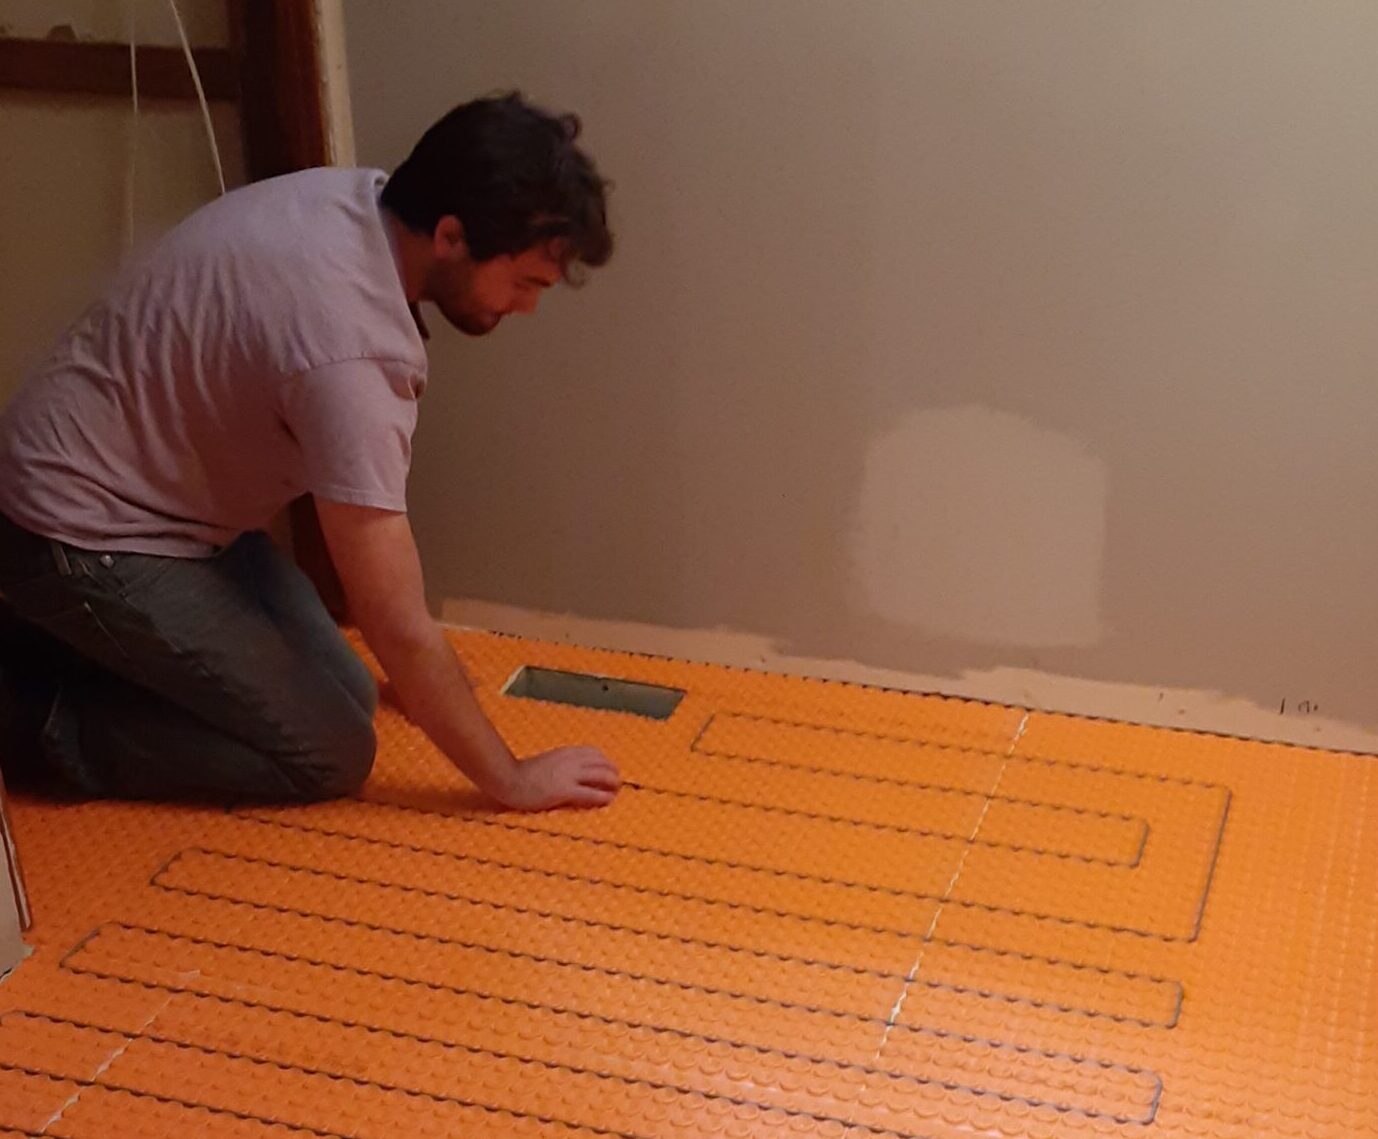
The Schluter floor heating membrane incorporates electric heating cables or mats embedded within uncoupling membranes. These systems, offered by Schluter, provide not only waterproofing and uncoupling benefits but also the added comfort of radiant floor heating. Suitable for a variety of floor tile installations, they offer warmth and comfort underfoot.
Installing membrane type underlayment: step-by-step guide
- Ensure that the subfloor is clean, dry, and free from any debris or protrusions.
- (Optional) Apply a primer to the subfloor to improve adhesion and ensure proper bonding of the membrane underlayment.
- Cut the membrane underlayment to size using a utility knife or scissors, ensuring it fits the installation area snugly.
- Secure the membrane to the subfloor using a suitable adhesive or fasteners, ensuring it is firmly attached and free from wrinkles or air pockets.
- If using multiple sheets of membrane underlayment, overlap the seams according to the manufacturer’s instructions and seal them with an appropriate seam tape or adhesive.
- Proceed with installing the tile according to your desired layout and design once the membrane underlayment is properly installed and secured.
- If using a Schluter floor heating system, follow the manufacturer’s instructions for installing the heating cables or mats within the uncoupling membrane. Ensure that the heating elements are properly spaced and secured according to the specified guidelines.
- Thoroughly inspect the installation before proceeding with grouting or finishing to ensure that the membrane underlayment and any additional components, such as floor heating systems, are installed correctly. Test the floor heating system (if applicable) to verify proper operation before covering with tile or flooring material.
In need of professional floor tile installation? Look no further than SAVU LLC. With our expertise and dedication to quality, we ensure flawless results for your project. Plus, take advantage of our free quotes to get started today.