
Tile Spacers Types
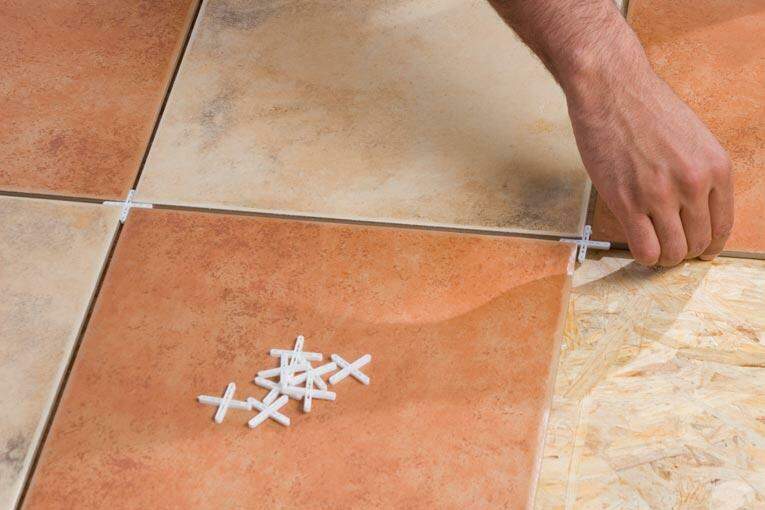
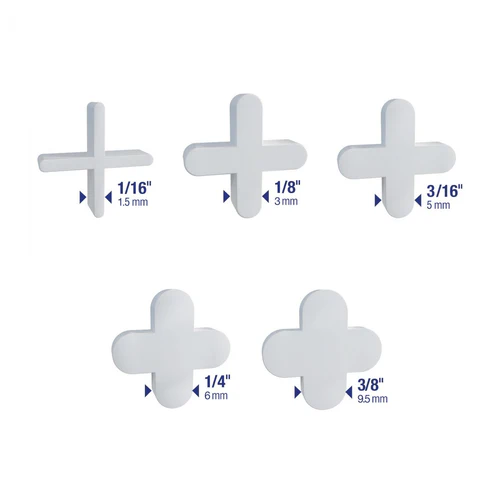
Cross (Cruciform) Spacers

Description: The most common type, cross spacers are shaped like a "+" or "X" and made of flexible plastic. They’re inserted at the corners where four tiles meet to ensure uniform grout gaps.
Specifications: Available in sizes like 1/16" (1.5 mm), 1/8" (3 mm), 3/16" (4.8 mm), and 1/4". Reusable and won’t snap under normal pressure.
Best For: Grid tile layouts (straight-set floors or walls), such as kitchen backsplashes or ceramic floors.
Notes: Ideal for simple patterns, they maintain consistent grout joints but don’t address lippage. For uneven surfaces, pair with a leveling system.
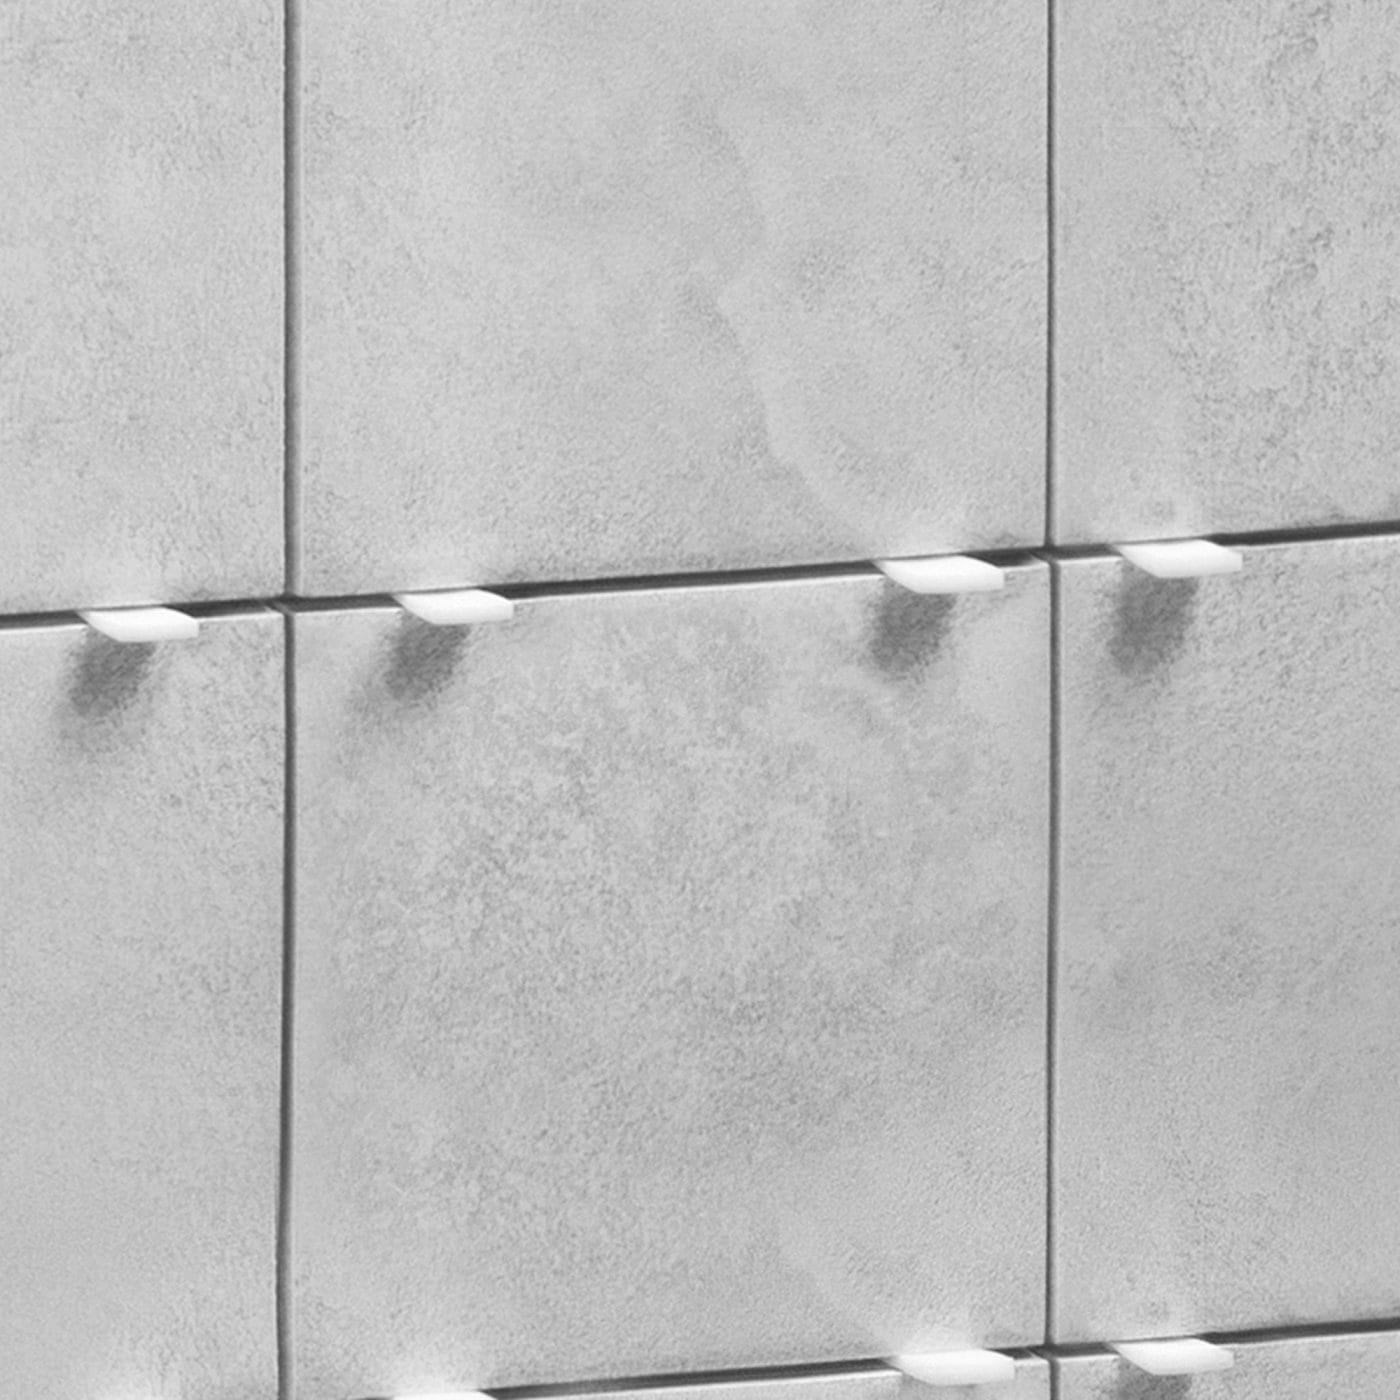
T-Shaped Spacers
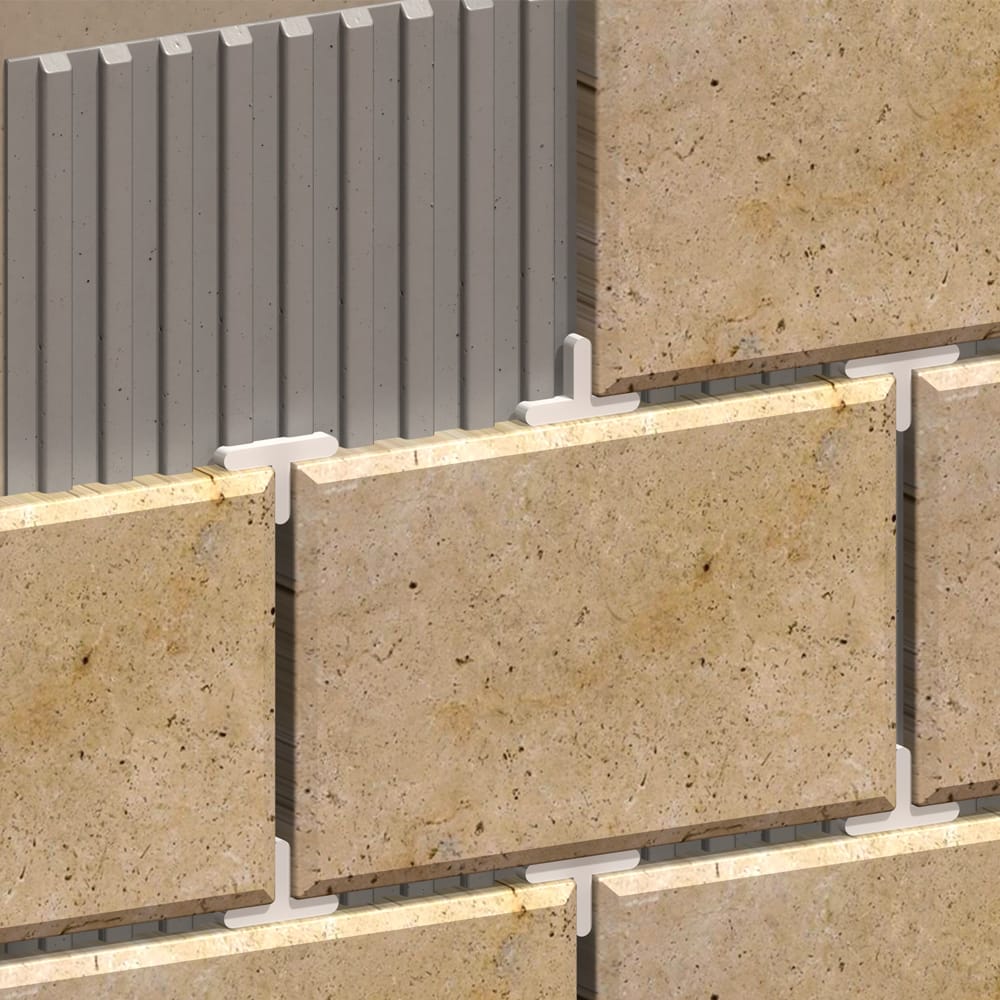
Description: Shaped like a "T," these spacers are designed for offset or staggered layouts, placed where one tile’s edge meets another’s midpoint.
Specifications: Sizes match cross spacers (1/16", 1/8", 3/16"). Made of durable plastic with a longer leg for easy placement.
Best For: Offset patterns like subway tile backsplashes, herringbone, or brick-style floors.
Notes: Ensures even gaps in non-grid layouts. Reusable and simple to remove after mortar sets.
Horseshoe Spacers
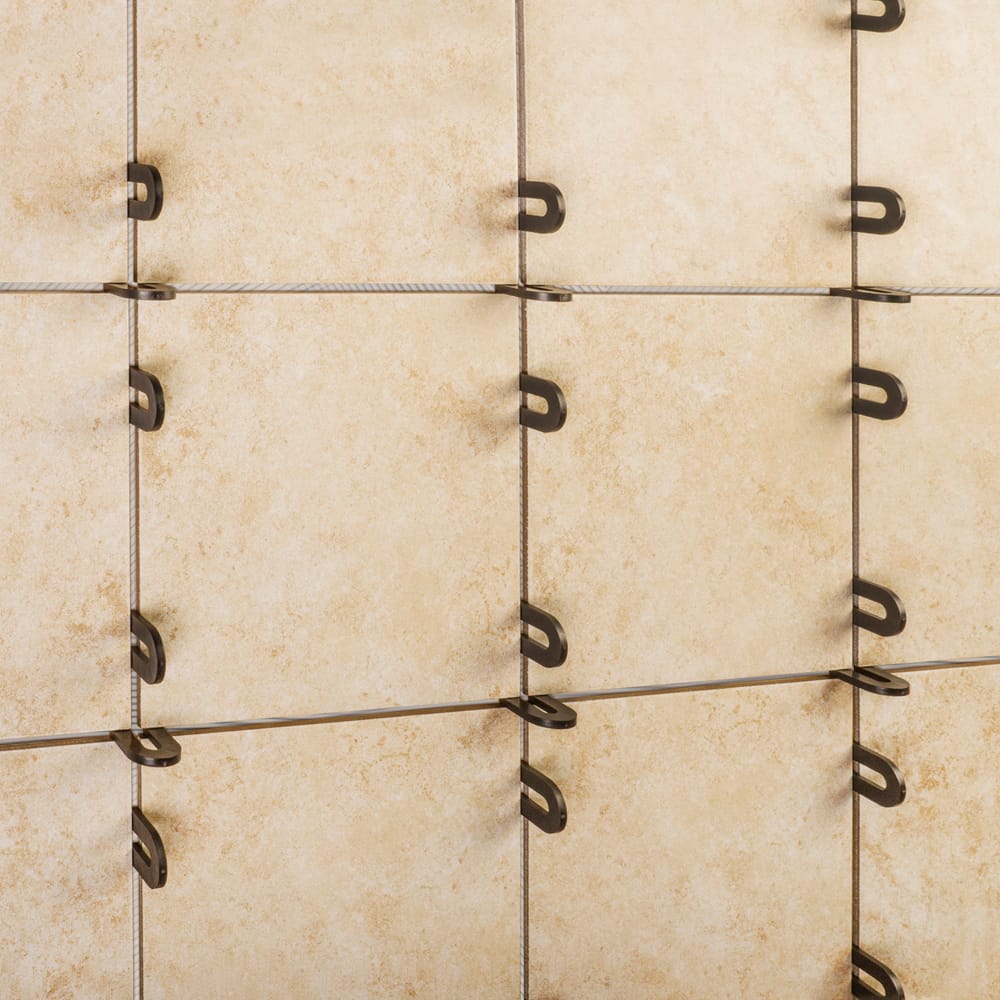
Description: U-shaped spacers that are easy to insert and remove, often color-coded by thickness.
Specifications: Sizes include 1/16", 1/8", and 3/16". Made of plastic, reusable.
Best For: Irregular walls, backsplashes, or areas with obstacles where flexibility is key.
Notes: Versatile and user-friendly, especially for tiling around corners or fixtures.
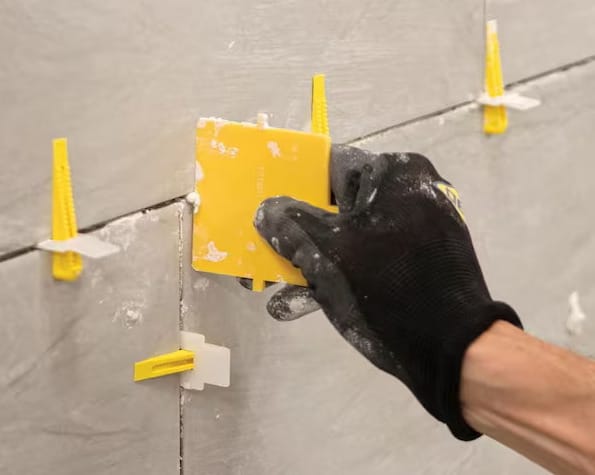
Wedge Spacers
Description: Triangular or U-shaped, these multifunctional spacers can act as spacers, shims, or be combined into crosses/T-shapes.
Specifications: Made of flexible PVC or nylon, adjusts up to 1/8" (3 mm). Reusable.
Best For: Vertical walls, backsplashes, mosaics, or uneven surfaces to prevent slippage.
Notes: Lightweight and durable, they’re perfect for fine-tuning tile positions and cleaning grout lines.
Spin Doctor
Description: A leveling system with a free-spin cap design for one-handed tightening, combining spacing and leveling.
Specifications: Sizes: 1/16", 1/8"; suits tiles up to 3/4" (20 mm) thick. Caps are reusable.
Best For: Large format tiles on floors and walls.
Notes: Beginner-friendly and efficient, with reusable components reducing waste.
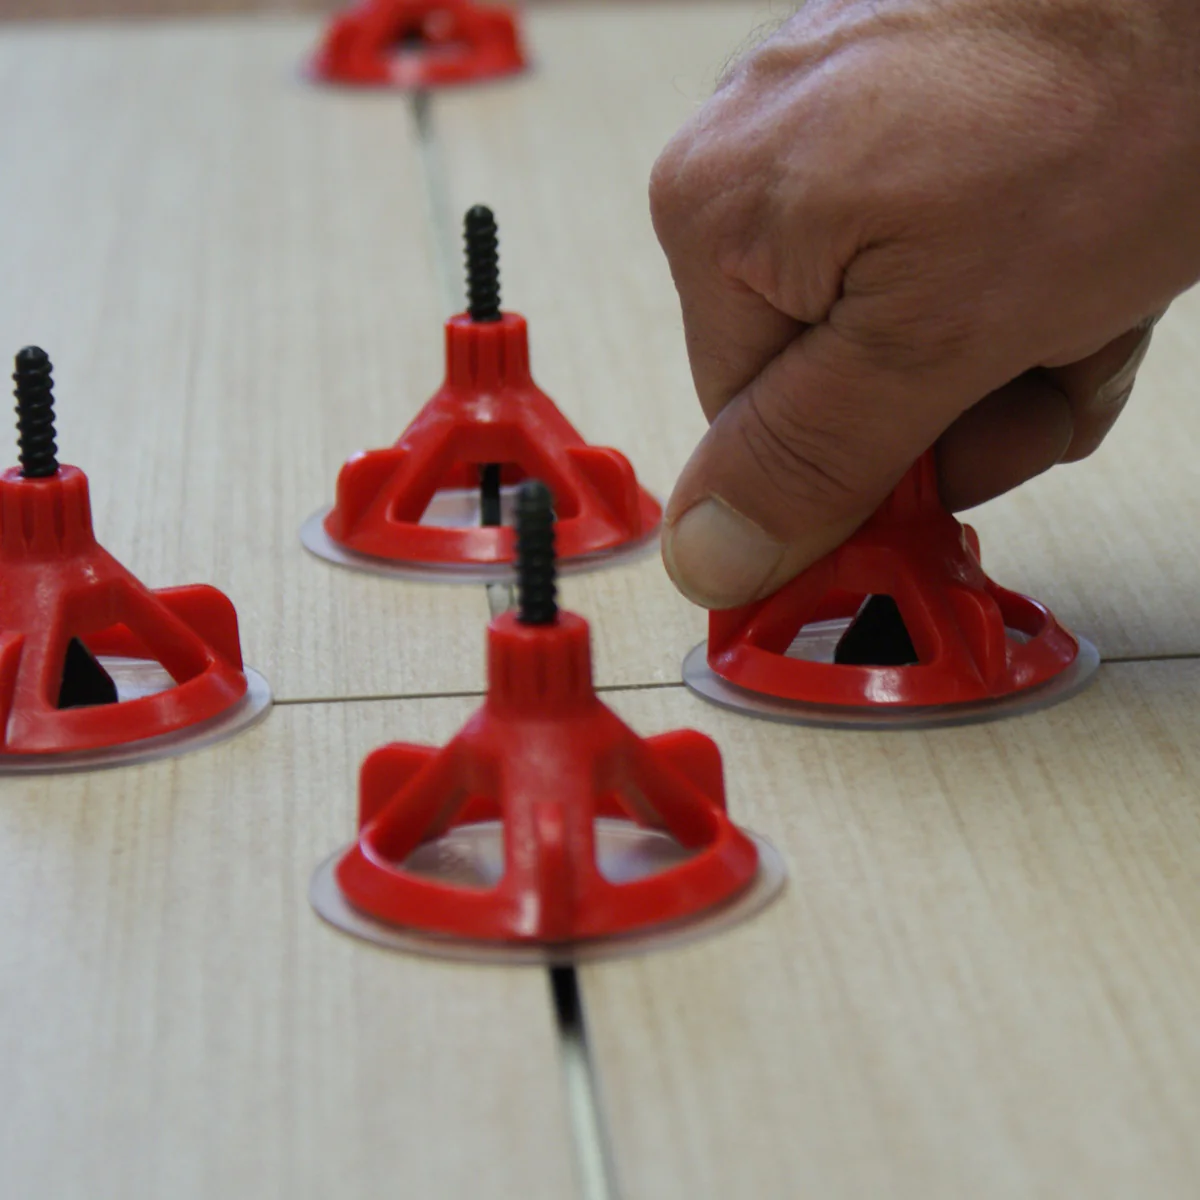
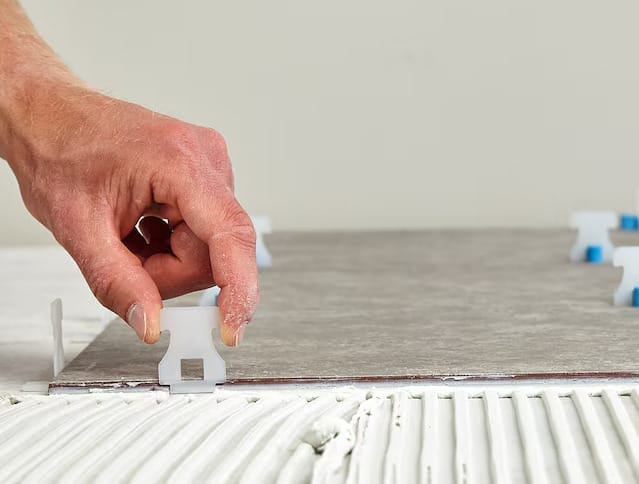
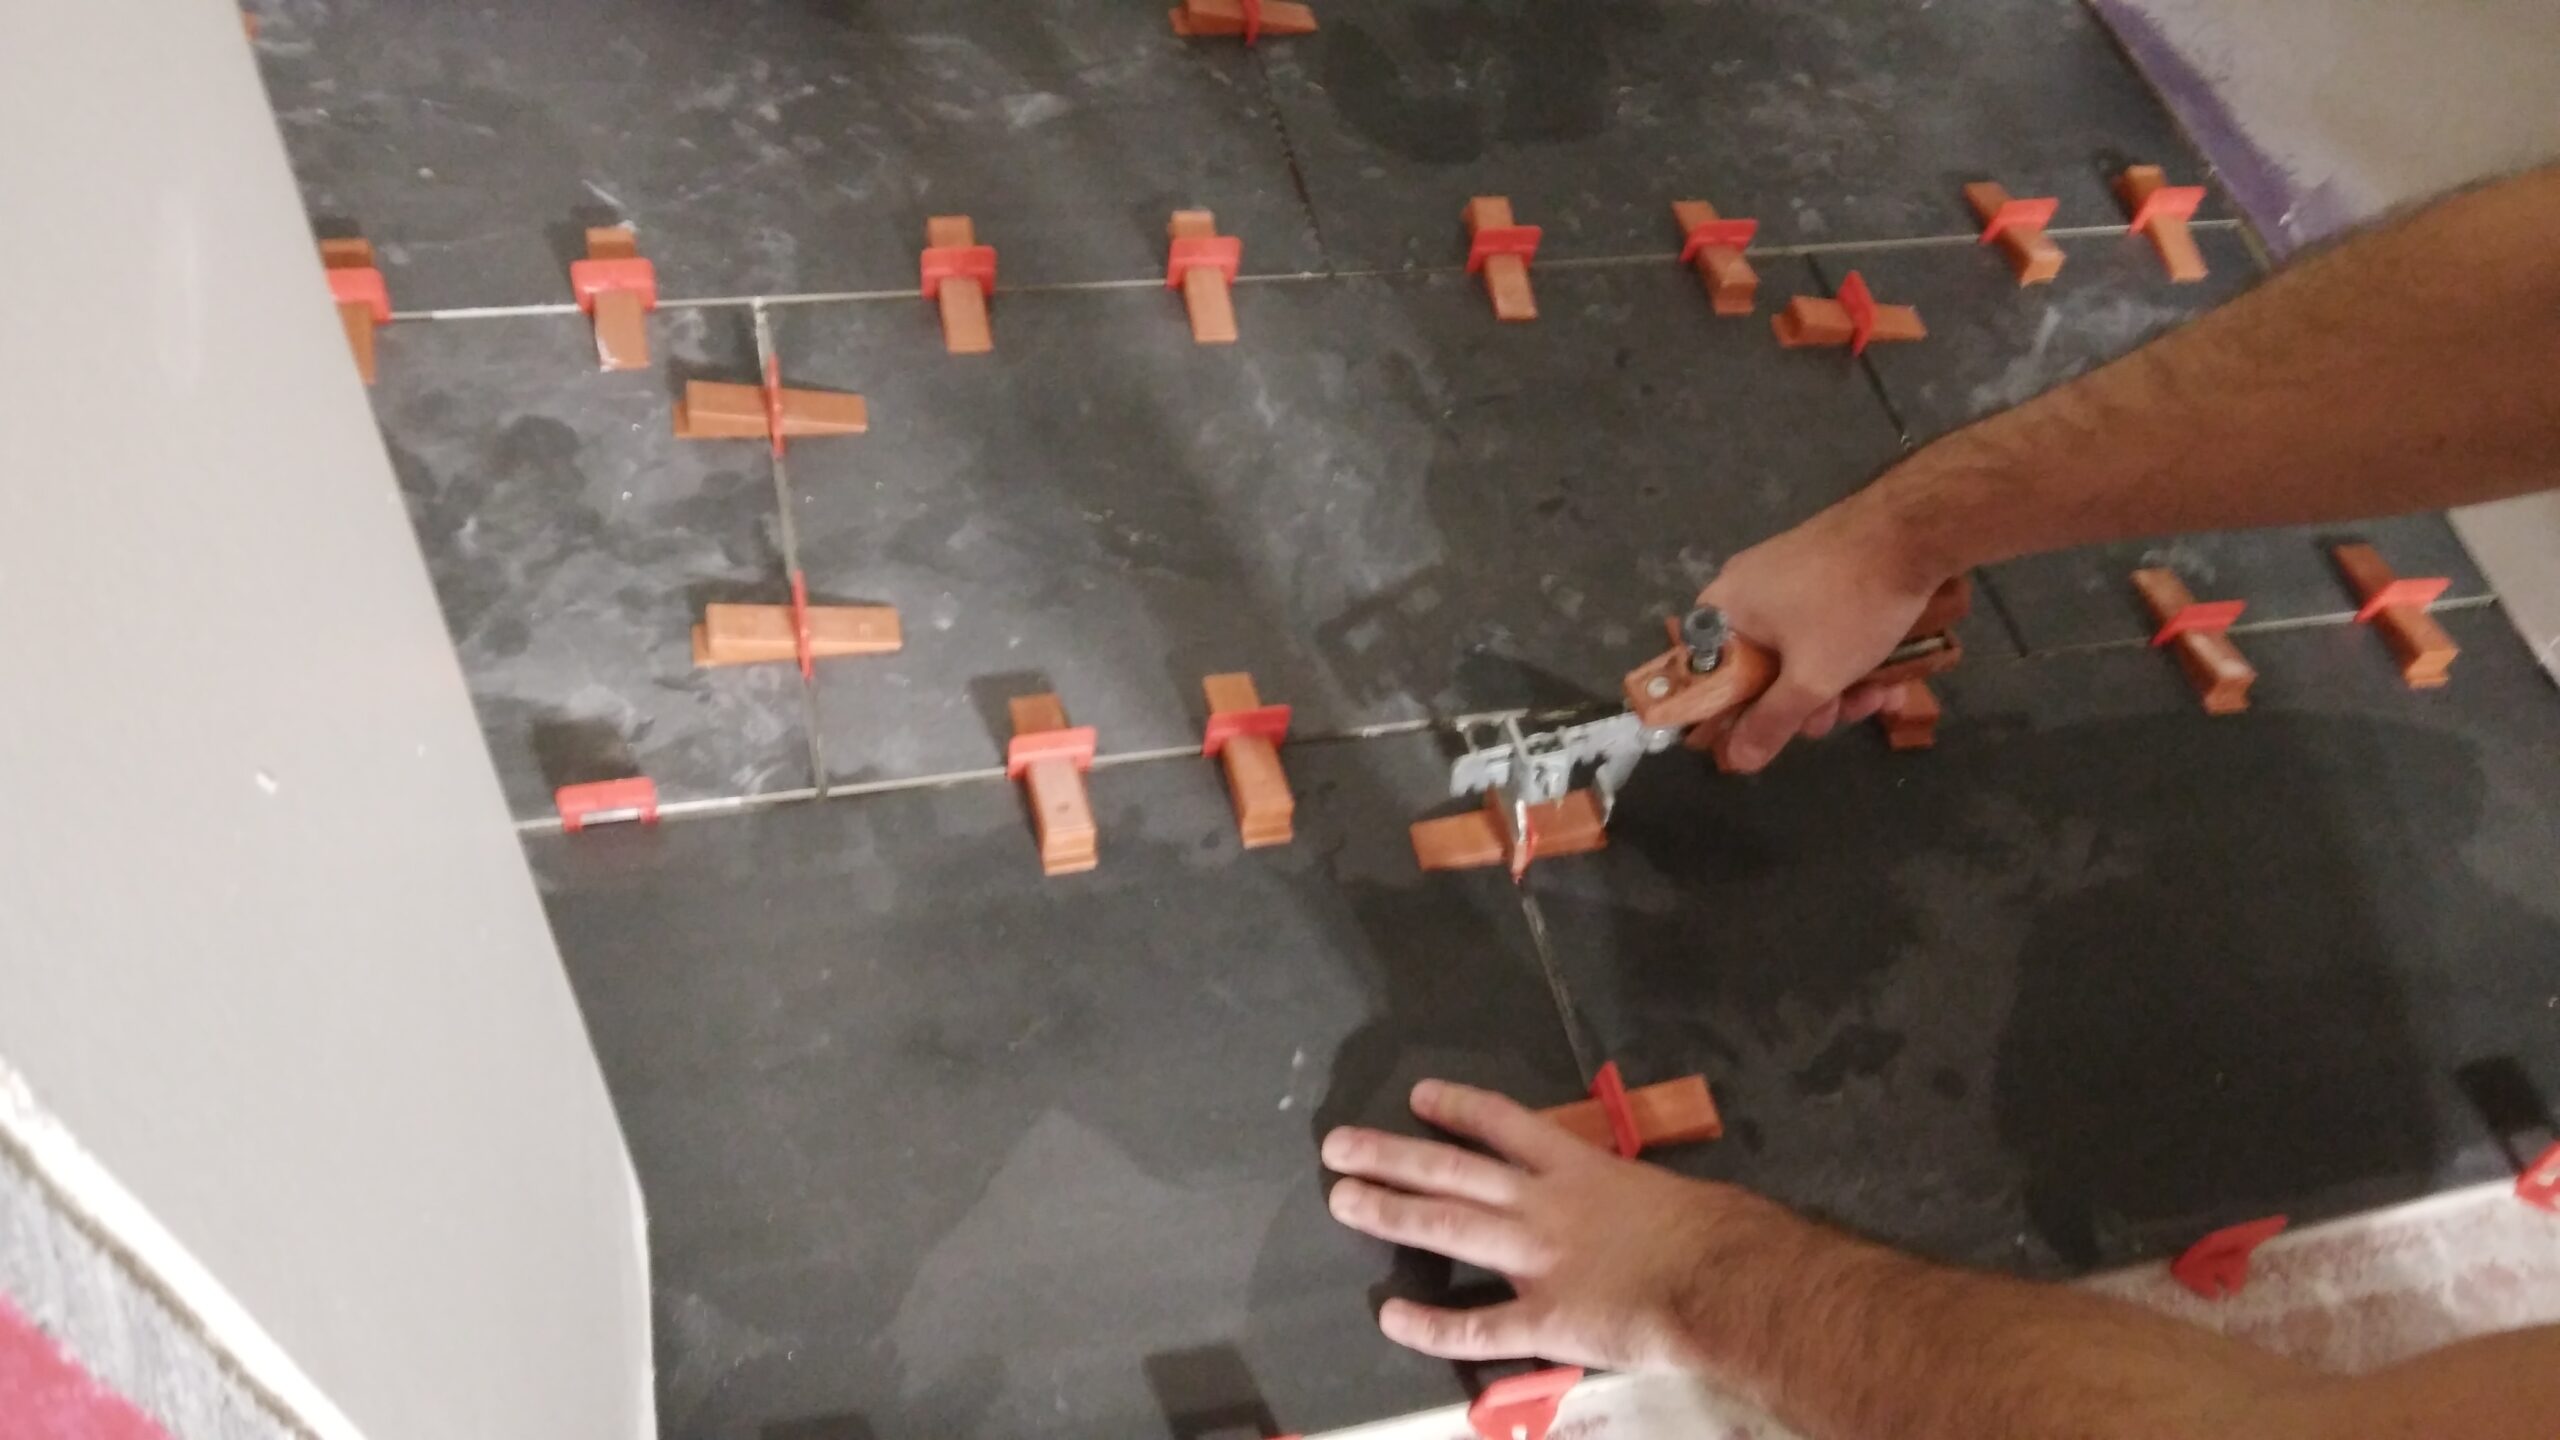
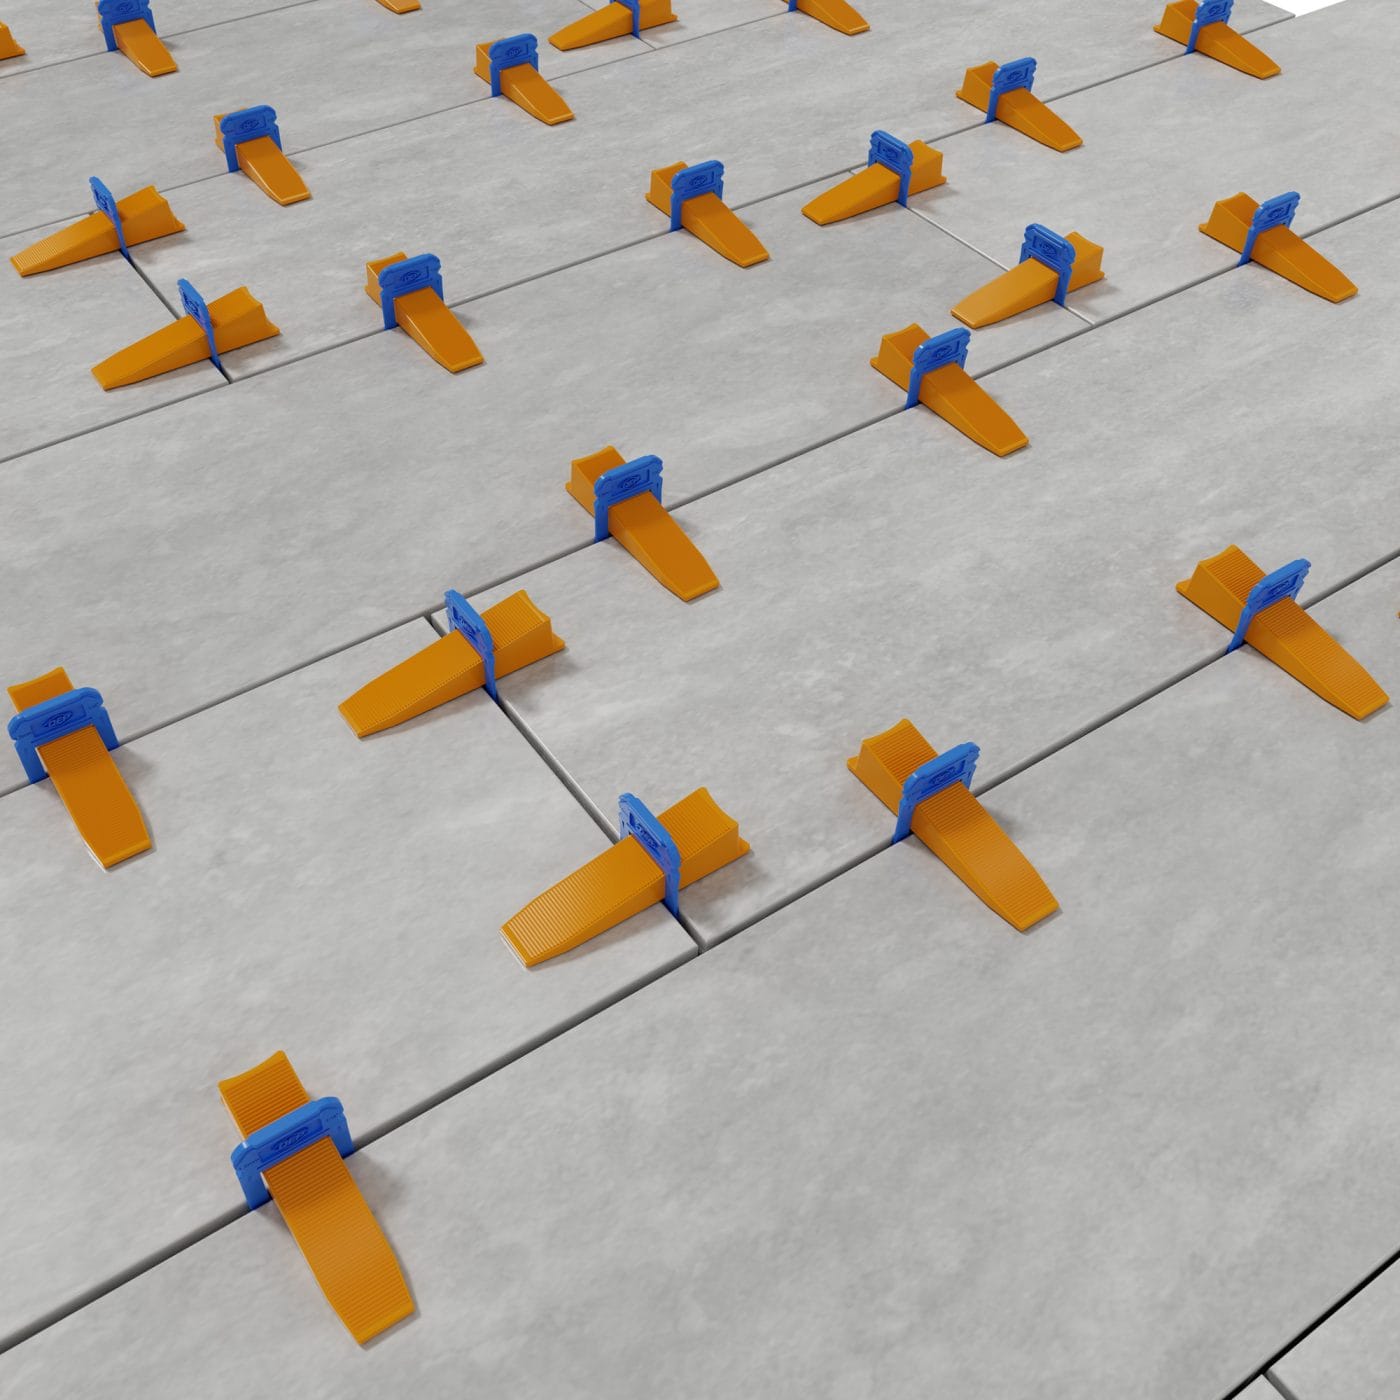
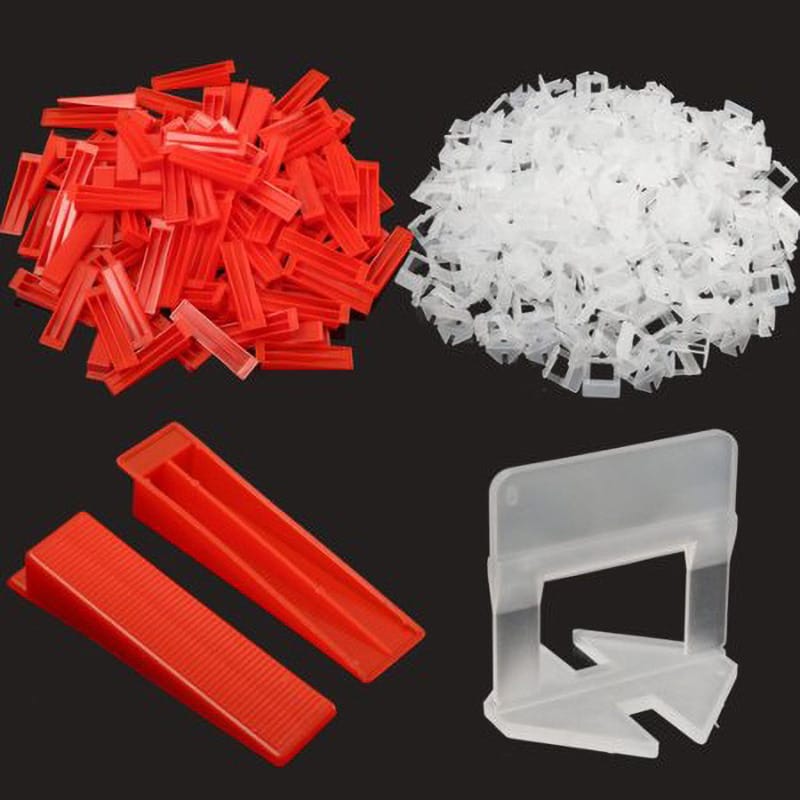
Leveling Clips
Description: Integrated clip-and-wedge systems that space and level tiles, preventing lippage.
Specifications: Clip bases with reusable wedges or caps, designed for various tile thicknesses.
Best For: Large format tiles, slabs, and big floor installations requiring a flat surface.
Notes: Ensures flawless flatness; wedges/caps are reusable in many systems.
Using Tile Spacers Correctly
Substrate Preparation
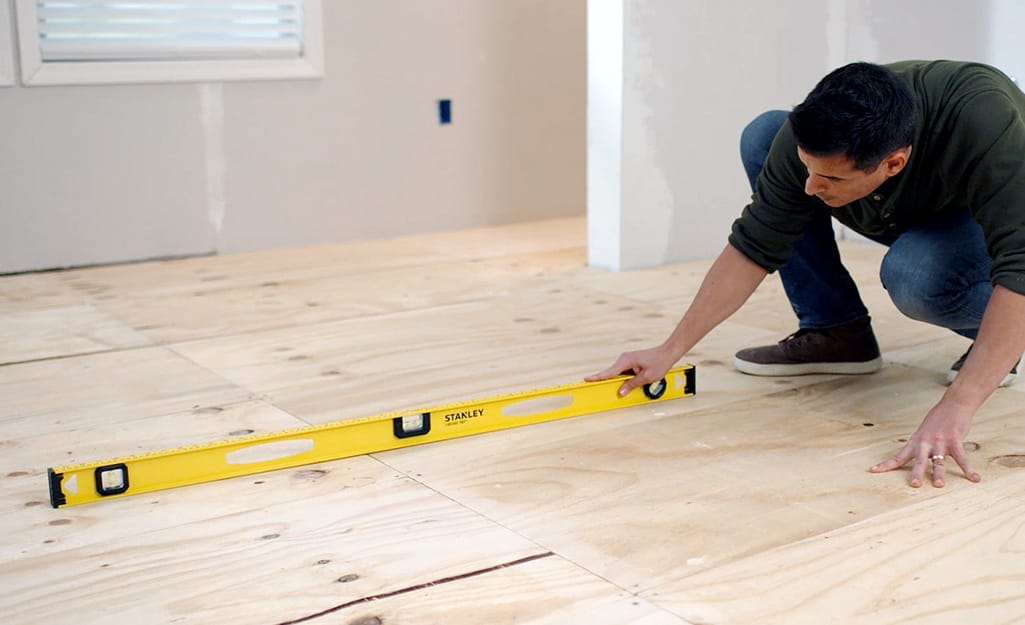
Always follow tile manufacturer guidelines on grout joint width and substrate prep. Ensure the subfloor is flat (within 1/8″ over 10 feet) and free of debris. Even the best spacers can’t compensate for a poor subfloor or uneven underlayment.
- Cross Spacers: Require a flat substrate to maintain even grout lines, as they don’t adjust for height differences.
- T-Shaped Spacers: Need a level surface to ensure staggered joints align properly in offset patterns.
- Horseshoe Spacers: Work well on vertical surfaces, but substrate must be smooth to prevent spacer slippage.
- Wedge Spacers: Can compensate slightly for minor unevenness by shimming, but a flat base is still critical.
- Spin Doctor: Demands a flat subfloor to ensure caps lock tiles flush without excessive pressure.
- Leveling Clips: Highly effective for uneven substrates, as clips and wedges can adjust for minor height variations.
Testing Spacer Fit
Before starting, test spacers with a few tiles to confirm they match the desired grout joint width and tile size. Adjust if necessary to avoid gaps or overly tight joints.
- Cross Spacers: Test at corners to ensure 1/16″–1/4″ sizes match tile spacing for grid patterns.
- T-Shaped Spacers: Verify T-shape fits offset patterns like subway tiles, checking 1/16″–3/16″ widths.
- Horseshoe Spacers: Check U-shape grips tile edges securely, especially for 1/16″–3/16″ vertical joints.
- Wedge Spacers: Test adjustability (up to 1/8″) to confirm they fit various tile sizes and layouts.
- Spin Doctor: Ensure stems and caps (1/16″–1/8″) align with tile thickness (3–12 mm) for secure locking.
- Leveling Clips: Confirm clip bases match grout joint width and wedges fit tiles up to 3/4″ thick.
Placement
Insert spacers at every tile corner (or edge for T-spacers) before laying the next tile. Ensure they’re fully under tile edges and aligned for the pattern (e.g., grid for cross spacers, staggered for T-spacers).
- Cross Spacers: Place at four-tile corners for grid layouts, ensuring flush insertion under edges.
- T-Shaped Spacers: Position at tile midpoints for staggered patterns, with the long leg under the tile.
- Horseshoe Spacers: Slide U-shape over tile edges, ideal for vertical or irregular layouts.
- Wedge Spacers: Insert as crosses, T’s, or shims, adjusting placement based on layout needs.
- Spin Doctor: Place stems under tile edges, aligning for cap attachment in large-format layouts.
- Leveling Clips: Insert clip bases under tile edges, spacing for wedge insertion in any pattern.
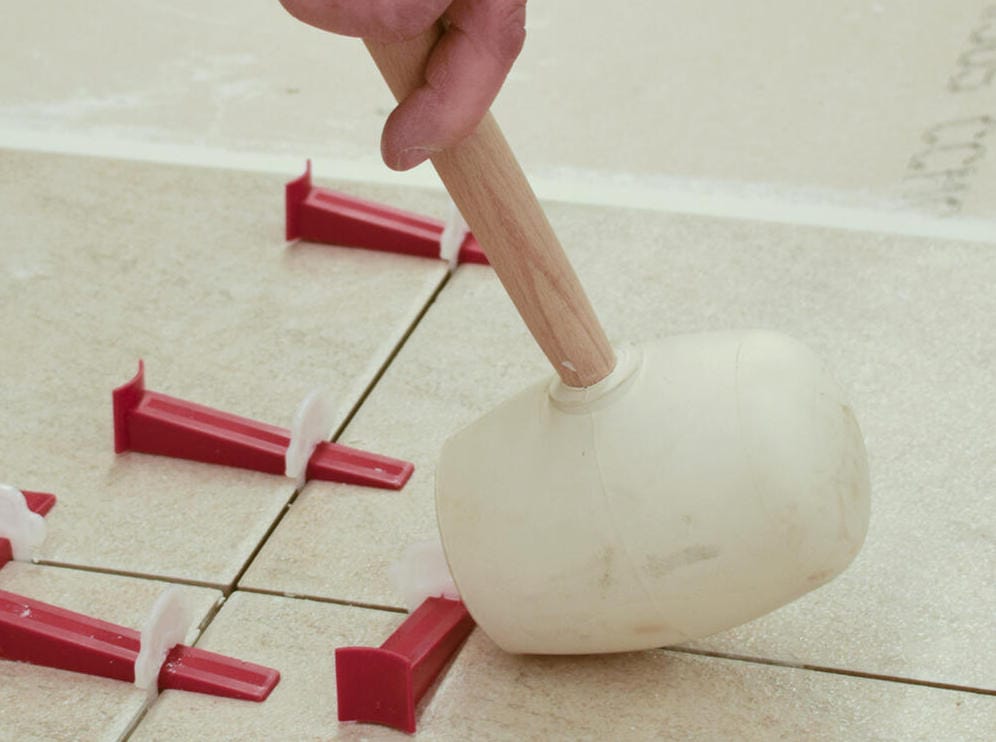
Pressing Tiles
Gently press each tile into the thinset to contact the spacer without crushing it. Apply consistent pressure to avoid dislodging spacers, ensuring they sit snugly without tilting the tile.
- Cross Spacers: Press lightly to avoid bending flexible plastic, ensuring even contact.
- T-Shaped Spacers: Apply firm but gentle pressure to keep the T’s long leg stable under heavy tiles.
- Horseshoe Spacers: Press to secure U-shape grip, preventing slippage on vertical surfaces.
- Wedge Spacers: Press carefully to maintain wedge position, especially when used as shims.
- Spin Doctor: Press tiles to align with stems, then tighten caps to lock without over-pressing.
- Leveling Clips: Press tiles to seat clips, then insert wedges to apply even pressure.
Leveling
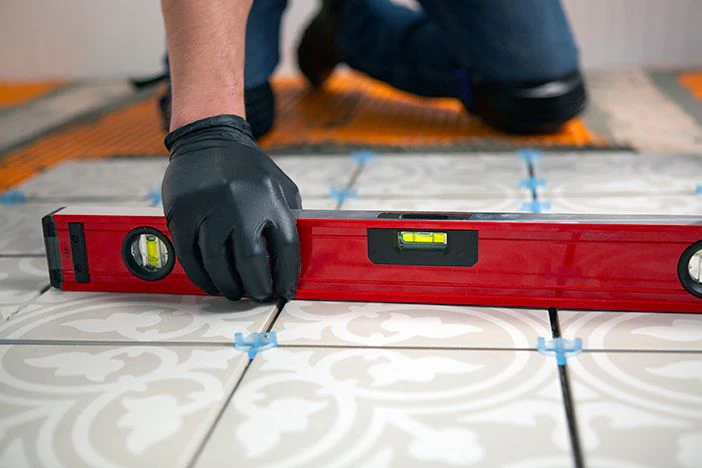
After setting a row, check with a level in multiple directions. For larger tiles, use a straightedge. If a tile is high, tap it down gently or slide a wedge spacer under the opposite side until flush.
- Cross Spacers: Don’t level; use with a separate leveling system for uneven tiles.
- T-Shaped Spacers: No leveling function; pair with wedges or clips for height adjustments.
- Horseshoe Spacers: Limited leveling; use wedges for minor vertical adjustments.
- Wedge Spacers: Slide under low tiles to adjust height, effective for minor lippage.
- Spin Doctor: Built-in leveling via caps; tighten to align tiles flush with minimal tapping.
- Leveling Clips: Excellent leveling; wedges lock tiles flat, reducing need for manual tapping.
Cleaning
Wipe excess thinset from around spacers while unset to keep joints clear for grout. Rinse reusable spacers immediately after removal to prevent hardened thinset buildup, ensuring they’re ready for reuse.
- Cross Spacers: Wipe thinset from corners; rinse plastic spacers thoroughly after removal.
- T-Shaped Spacers: Clean thinset from T’s long leg; rinse to maintain reusability.
- Horseshoe Spacers: Clear thinset from U-shape; rinse color-coded spacers carefully.
- Wedge Spacers: Remove thinset from wedges; rinse to preserve multifunction use.
- Spin Doctor: Clean stems and reusable caps; avoid thinset buildup in threads.
- Leveling Clips: Wipe thinset from clip bases; reusable wedges need thorough rinsing.
Removal
Follow product instructions, typically removing spacers after 24 hours once the thinset has cured but before grouting. Plastic crosses can often be kicked out by sweeping with a hammer handle; use tombstone-style (vertical pull) removal for easiest cleanup. For leveling systems, unscrew caps or snap off clips carefully.
- Cross Spacers: Kick out with a hammer handle or pull vertically after 24 hours.
- T-Shaped Spacers: Pull T’s vertically to avoid disturbing staggered joints.
- Horseshoe Spacers: Slide U-shape off edges easily, ideal for vertical surfaces.
- Wedge Spacers: Remove gently to preserve for reuse, especially in shimming roles.
- Spin Doctor: Unscrew caps and remove stems; reusable components simplify cleanup.
- Leveling Clips: Snap off clip bases; remove reusable wedges carefully.
Common Questions About Tile Spacers
Why use tile spacers?
Tile spacers are used to ensure consistent and uniform spacing between tiles, leading to a professional-looking finish with evenly spaced grout lines. They also help with tile installation by providing a reference for alignment and preventing tiles from shifting during the drying process.
Do I need tile spacers for all tile types?
Tile spacers are recommended for most tile types to ensure even grout lines and accommodate expansion, but they’re not always necessary. Some wall tiles have built-in spacers (small tabs on tile edges) that set a consistent gap, reducing the need for separate spacers. Rectified tiles with precise edges may allow minimal gaps, but spacers ensure consistency. Handmade or irregular tiles benefit from wider spacers to mask inconsistencies. For mosaics or intricate patterns, spacers maintain uniformity. Always check manufacturer guidelines; if built-in spacers are present or tight spacing is desired, separate spacers may be optional, but they’re essential for professional results in most cases.
- Cross Spacers: Essential for grid-patterned ceramic/porcelain without built-in spacers.
- T-Shaped Spacers: Needed for offset patterns unless tiles have built-in spacers.
- Horseshoe Spacers: Useful for vertical tiles without built-in spacers, especially irregular ones.
- Wedge Spacers: Optional for tiles with built-in spacers; ideal for uneven handmade tiles.
- Spin Doctor: Required for large-format tiles to ensure spacing and leveling, even with built-in spacers.
- Leveling Clips: Necessary for large or uneven tiles, regardless of built-in spacers.
How to install tile spacers?
To install tile spacers, place them at the corners or along the edges of each tile as you lay them. Use cross-shaped spacers for standard grid patterns to maintain even spacing on all sides, or T-shaped spacers for offset layouts like brick patterns. Once the adhesive begins to set, typically after 20-30 minutes, remove the spacers carefully to prepare for grouting.
What size spacers should I use for my tile?
The size of tile spacers depends on tile size, layout, and aesthetic preference. British Standards recommend 2–3 mm for walls and 3–5 mm for floors to allow for expansion and contraction. Smaller tiles (e.g., mosaics) often use 1–2 mm spacers for a delicate look, while large-format tiles may need 3–5 mm for stability. Consider the grout line’s visual impact: thin lines (1–2 mm) create a seamless look, while wider lines (3–5 mm) emphasize contrast. Check manufacturer guidelines, as some tiles have built-in spacers setting the spacing. Always test spacers with your tiles to ensure the desired joint width.
- Cross Spacers: Use 1/16″–1/4″ for grid patterns; 2–3 mm is common for standard tiles.
- T-Shaped Spacers: Choose 1/16″–3/16″ for offset layouts like subway tiles.
- Horseshoe Spacers: Opt for 1/16″–3/16″, ideal for vertical walls with 2 mm minimum.
- Wedge Spacers: Adjustable up to 1/8″, suitable for varied tile sizes and uneven surfaces.
- Spin Doctor: Select 1/16″–1/8″ for large-format tiles, matching grout joint needs.
- Leveling Clips: Use 1/16″–1/8″ clips, designed for large tiles needing 3–5 mm gaps.
How many tile spacers do I need?
To estimate tile spacers, multiply the number of tiles by four, as each tile typically needs a spacer at each corner. For example, 100 tiles require about 400 spacers. Add 10–20% extra for breakage, loss, or irregular edges (e.g., walls or corners). For offset patterns or leveling systems, adjust based on spacer placement (e.g., T-spacers at midpoints). Large-format tiles may need additional spacers along edges. Dry-lay your design to confirm quantities, and consider reusable spacers to reduce costs. Always check project specifics, as edges or obstacles may require fewer spacers.
- Cross Spacers: Use four per tile in grid layouts; add 10% for corners.
- T-Shaped Spacers: Need two per tile in offset patterns; account for edge tiles.
- Horseshoe Spacers: Use one per edge for vertical tiles; fewer needed than crosses.
- Wedge Spacers: Vary by use (cross, shim); estimate four per tile plus extras.
- Spin Doctor: Use stems at corners (four per tile); caps are reusable.
- Leveling Clips: Require one clip per edge; estimate based on tile size.
What can I use instead of tile spacers?
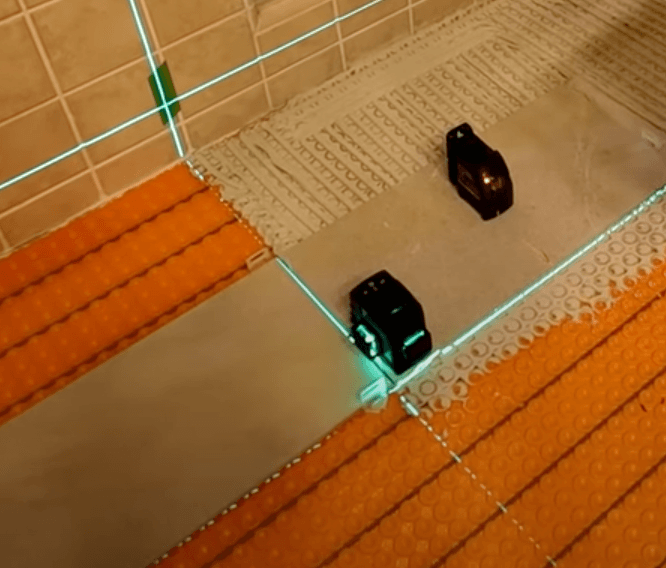
If tile spacers aren’t available, you can use alternatives like chalk or laser lines to mark spacing. However, these substitutes are less precise and consistent compared to spacers designed specifically for tiling, which could affect the uniformity of grout lines and overall finish. For best results, purpose-made spacers are recommended.
When should tile spacers be removed?
Tile spacers should typically be removed 20–30 minutes after tile installation, once the adhesive begins to set but before it fully cures. Check the adhesive’s manufacturer instructions for exact timing, as fast-setting adhesives may require earlier removal. Removing too soon risks tile slippage, while waiting too long can make spacers difficult to extract, potentially damaging tiles. Use fingers, pliers, or a dental pick for stubborn spacers. For leveling systems, remove caps or snap off clips after 24 hours, per product guidelines. Proper timing ensures clean grout lines and a stable installation.
- Cross Spacers: Remove after 20–30 min; use a hammer handle for easy extraction.
- T-Shaped Spacers: Pull vertically after adhesive sets to avoid joint disruption.
- Horseshoe Spacers: Slide off edges within 20–30 min, simple for vertical tiles.
- Wedge Spacers: Remove gently within 30 min to preserve reusability.
- Spin Doctor: Unscrew caps after 24 hours; remove stems before grouting.
- Leveling Clips: Snap off clips after 24 hours; remove wedges carefully.
Can you leave tile spacers in and grout over them?
Most tile spacers should not be left in and grouted over, as this can weaken grout joints, cause cracks, or leave visible plastic outlines, compromising the finish. Exceptions include specific spacers like RUBI X-shaped spacers designed to stay in and reinforce grout. Removing spacers ensures full-depth grouting, improving durability and aesthetics. Grouting over spacers may lead to structural issues over time, especially with floor tiles, as expansion stresses the grout. Always follow manufacturer instructions and remove spacers before grouting unless explicitly designed otherwise.
- Cross Spacers: Remove before grouting; not designed to stay, except RUBI models.
- T-Shaped Spacers: Must be removed; grouting over risks visible T-shapes.
- Horseshoe Spacers: Remove to avoid compromising grout on vertical surfaces.
- Wedge Spacers: Always remove; not intended for permanent placement.
- Spin Doctor: Remove stems; caps are reusable, not grouted over.
- Leveling Clips: Snap off clips; wedges are removed, not grouted over.
How much are tile spacers?

Tile spacers are affordable, typically costing $2–$5 for a pack of 100 standard cross or T-shaped spacers at hardware stores or online. Specialty spacers, like leveling clips or Spin Doctor systems, range from $10–$25 for a pack of 50–100. Prices vary by brand, type, and quantity, but they remain a cost-effective tool for tiling projects.